Goal: Switch from fake money to real money. You're done.
What we're doing
Everything works with fake money. Time to flip the switch — real money, real customers.
Step 1: Switch to live mode
Up until now we've been in the Sandbox, let's switch to live mode.
Want to incorporate later? Totally optional — ZenBusiness or Stripe Atlas are the easiest routes.
Stripe not available in your country? Check stripe.com/global. If your country isn't supported, you can form a US LLC to get access.
Once approved, you're in live mode. Now update the Agent with your live key so it can set everything up.
If you've bought your domain, replace yourdomain.com in the prompt below before sending. If not, leave it — the agent will ask you for it first.
Read my blueprint.txt. The app is fully working in Stripe sandbox mode — payments, webhooks, subscriptions, everything. I've just switched my Stripe MCP to my live key. All I need is the live Stripe credentials wired up so the exact same flow works with real money.
Before you do anything else — look at the webhook URL in step 2 below. If it still has a placeholder domain, stop and ask me for my real domain before proceeding. Don't do any of the steps until I've confirmed it.
Using the Stripe MCP and the blueprint:
Create the product and price in live mode — same spec as what's in the blueprint
Look at my webhook handler code at /api/webhook to find every Stripe event it listens for, then register a live webhook endpoint at https://yourdomain.com/api/webhook for exactly those events
If the app has a Stripe Billing Portal (for customers to manage or cancel their subscription), activate it in live mode too
Check whether any code needs to change to support the live keys — if it does, make the change; if not, leave the code alone
Give me the exact values for STRIPE_PRICE_ID (the new live price ID you just created) and STRIPE_WEBHOOK_SECRET (the signing secret for the live webhook) — I'll get the secret key and publishable key directly from the Stripe dashboard
Don't touch .env.local — that stays on sandbox for local testing. I'm non-technical and copy-pasted this from a guide — please keep all explanations in plain English.
AI PromptSet up live Stripe — Put this in your IDE
Read my blueprint.txt. The app is fully working in Stripe sandbox mode — payments, webhooks, subscri...
Click to expand
Step 3: Base URL
Your app needs to know its own address — localhost:3000 when you're building, your real domain when it's live. This prompt makes that automatic.
Read my blueprint.txt. Linktree-clone needs to know its own URL — localhost:3000 during development, my real domain in production on Vercel.
Search the whole codebase for any hardcoded URLs — localhost, placeholder domains, anything. Replace them all with a dynamic base URL that works automatically in both environments. Make sure this covers Stripe redirect URLs, Supabase auth redirect URLs, meta/Open Graph tags, and any links that point back to the app itself.
Push to GitHub when done. I'm non-technical and copy-pasted this from a guide — please keep all explanations in plain English.
AI PromptSet up base URL — Put this in your IDE
Read my blueprint.txt. Linktree-clone needs to know its own URL — localhost:3000 during developmen...
Click to expand
Step 4: Turn email confirmation back on
Earlier we turned off email confirmation in Supabase so you could test without checking your inbox every time. Now that you're going live, you need to turn it back on — otherwise anyone can sign up with a fake email.
Step 5: Set up email delivery
You just turned email confirmation back on. But there is a problem: Supabase's built-in email service only lets you send 2 emails per hour. That means if 3 people try to sign up in the same hour, the third person never gets their confirmation email.
We fix this by connecting a free email service called Resend. Once connected, Supabase sends all its emails through Resend instead, and Resend's free plan lets you send up to 100 emails per day (3,000 per month). More than enough.
Verification
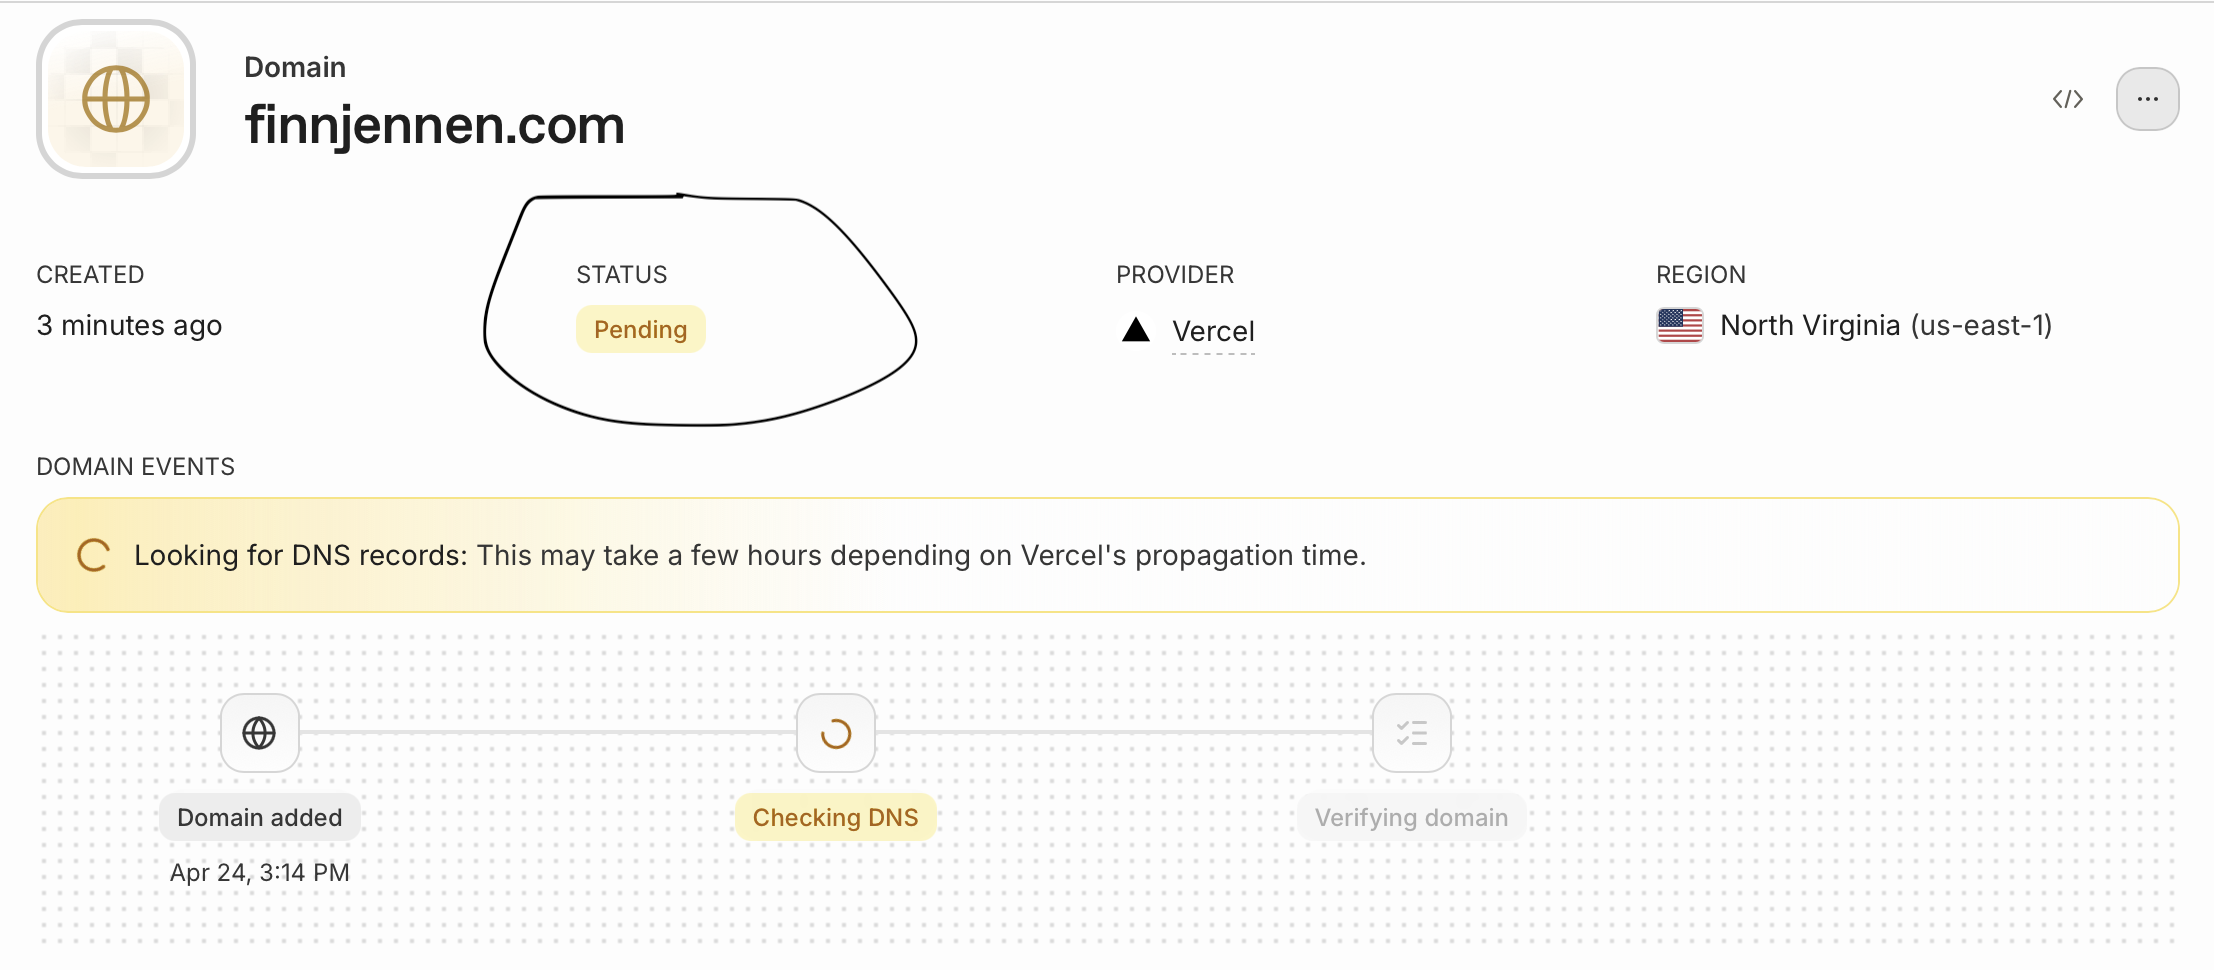
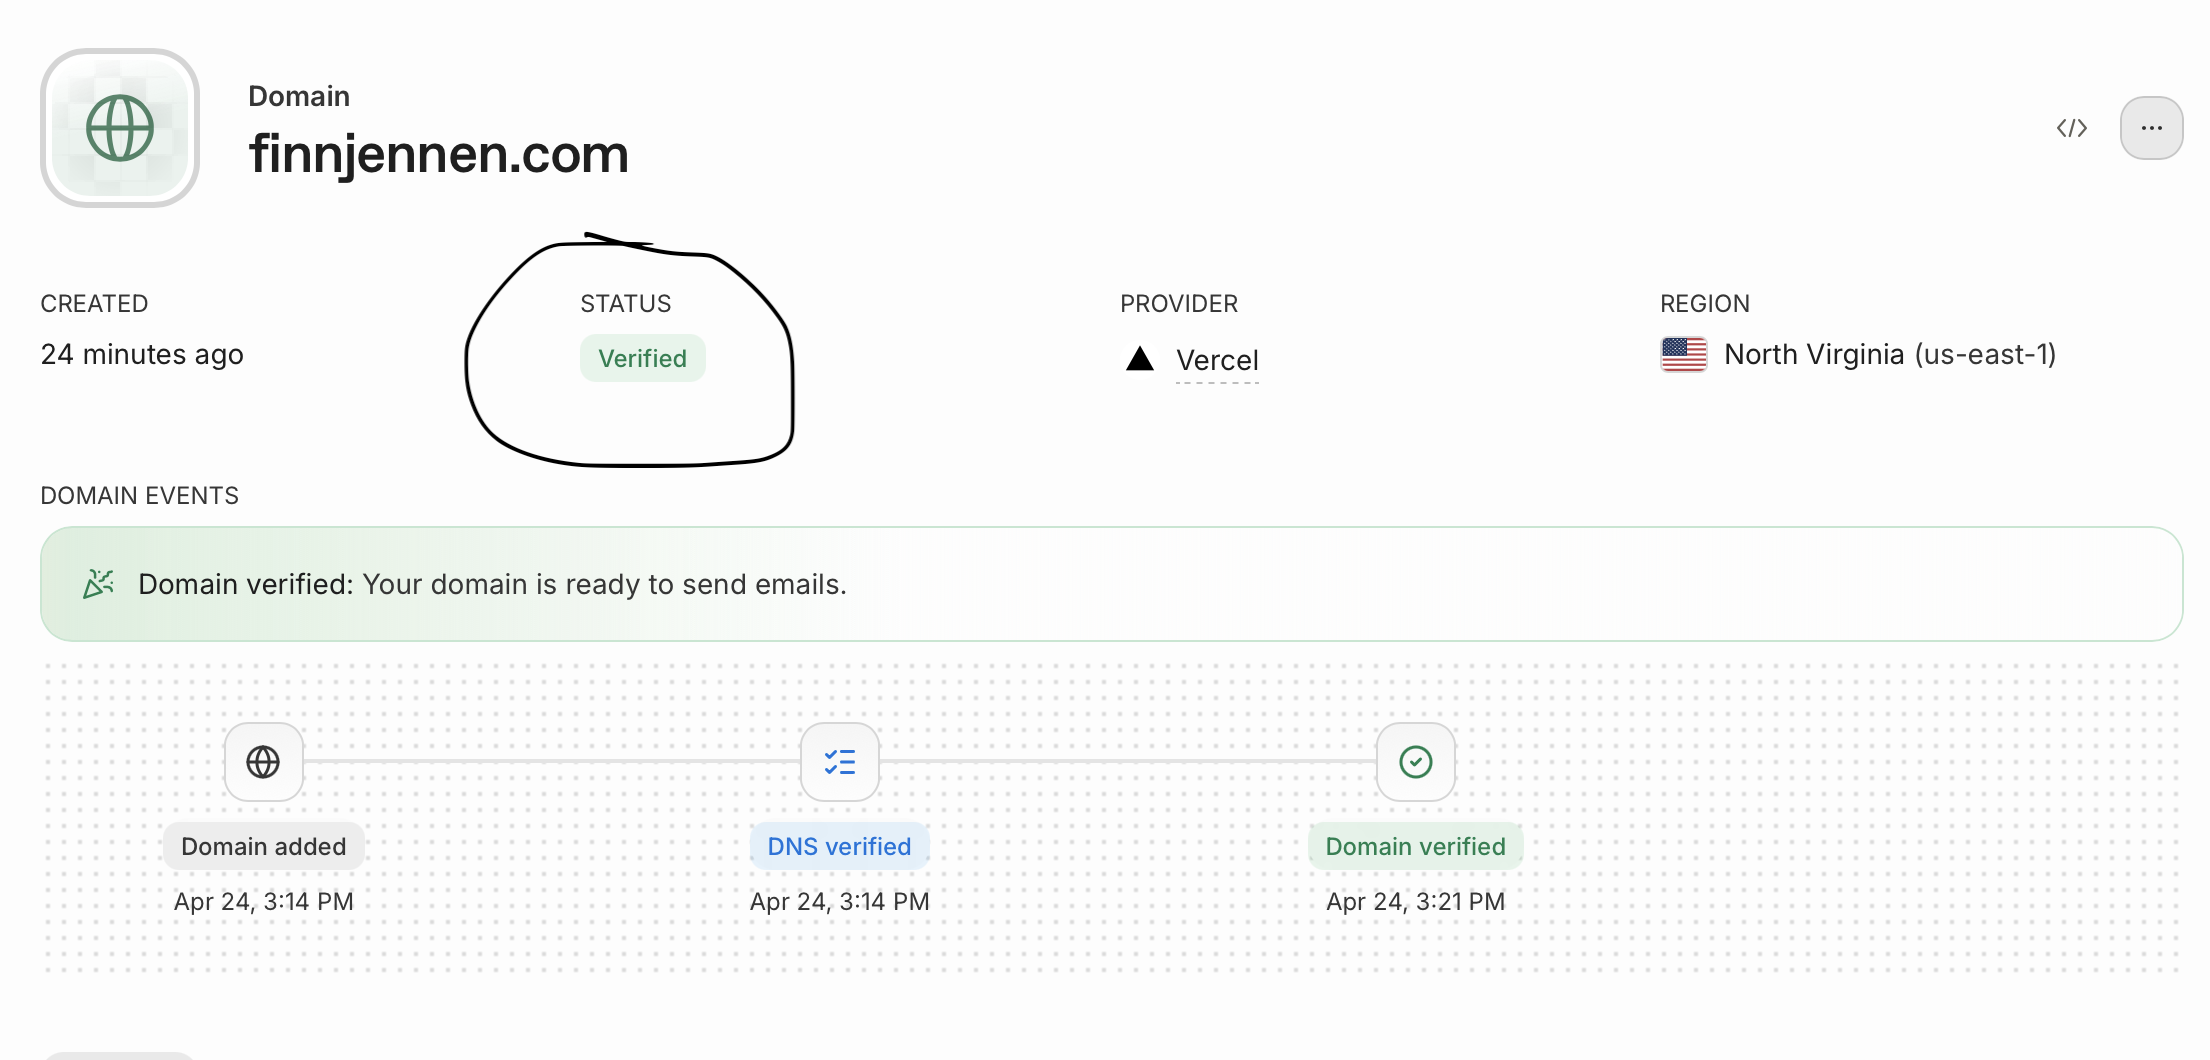
Back in the Resend dashboard under Domains, click on your domain. You'll see a status page.
At first it will say Pending -- that's normal. Resend is checking that the DNS records Vercel just added are live.
Wait a minute or two, then refresh the page. It will update to Verified.
If it stays on Pending for more than 30 minutes, DNS propagation is just taking a bit longer than usual. It will resolve on its own.
Test it
Open your live site in an incognito window and sign up with a new email address you haven't used before. You should receive a confirmation email within a few seconds.
Check the sender. It should show as noreply@yourbrand.com (your domain), not a Supabase address. That means Resend is working.
Step 6: Security deep dive
Read my blueprint.txt. I'm about to go live with real money. Your job is to check every item below AND fix anything that fails — don't just report problems, solve them. Only come back to me if something genuinely requires a manual action I have to do myself.
With Supabase MCP:
Check that Row Level Security is on for every table — customers should only be able to read and write their own data
Check that all database writes (save, publish, delete) need the customer to be logged in — on the server, not just the frontend
Check that unpublished pages can't be seen by visitors
With Stripe MCP:
4. List my webhook endpoints — make sure my webhook code checks the Stripe signature so nobody can fake a payment
5. Make sure my secret key is never in any client-side code
In the codebase:
6. Search every file for hardcoded API keys or passwords — everything should come from environment variables, and .env.local should be in .gitignore
7. Check that customer content (names, bios, links) can't inject scripts into the page
8. Make sure all redirects use HTTPS
For each item: mark it pass or fail, fix it if it fails, then confirm it's fixed. I'm non-technical and copy-pasted this from a guide — please keep all explanations in plain English.
AI PromptSecurity deep dive — Put this in your IDE
Read my blueprint.txt. I'm about to go live with real money. Your job is to check every item below A...
Click to expand
Step 7: Final check
You're done.
Your app is live. People can sign up, build their page, and pay you for it.
Save Your Work
You've made changes. Let's push them to GitHub so they are safe.
Save all my work to GitHub. Stage everything, commit it with a message about going live with production Stripe and the security audit, and push it. I'm non-technical and copy-pasted this from a guide — please keep all explanations in plain English.
AI PromptFinal save to GitHub — Put this in your IDE
Save all my work to GitHub. Stage everything, commit it with a message about going live with product...