How Your IDE Works
Goal: Learn the basics of your IDE and give the Agent your first task.
Step 1: Create your project folder
Before we do anything else, we need a folder on your computer where your project will live. Everything you build goes in here.
Every time you open your IDE to work on this app, you need to open this same folder. This is your project's home.
Step 2: The Explorer (left side)
On the left side of your screen, you should see a panel. This is called the Explorer. It shows all the folders and files inside your project.
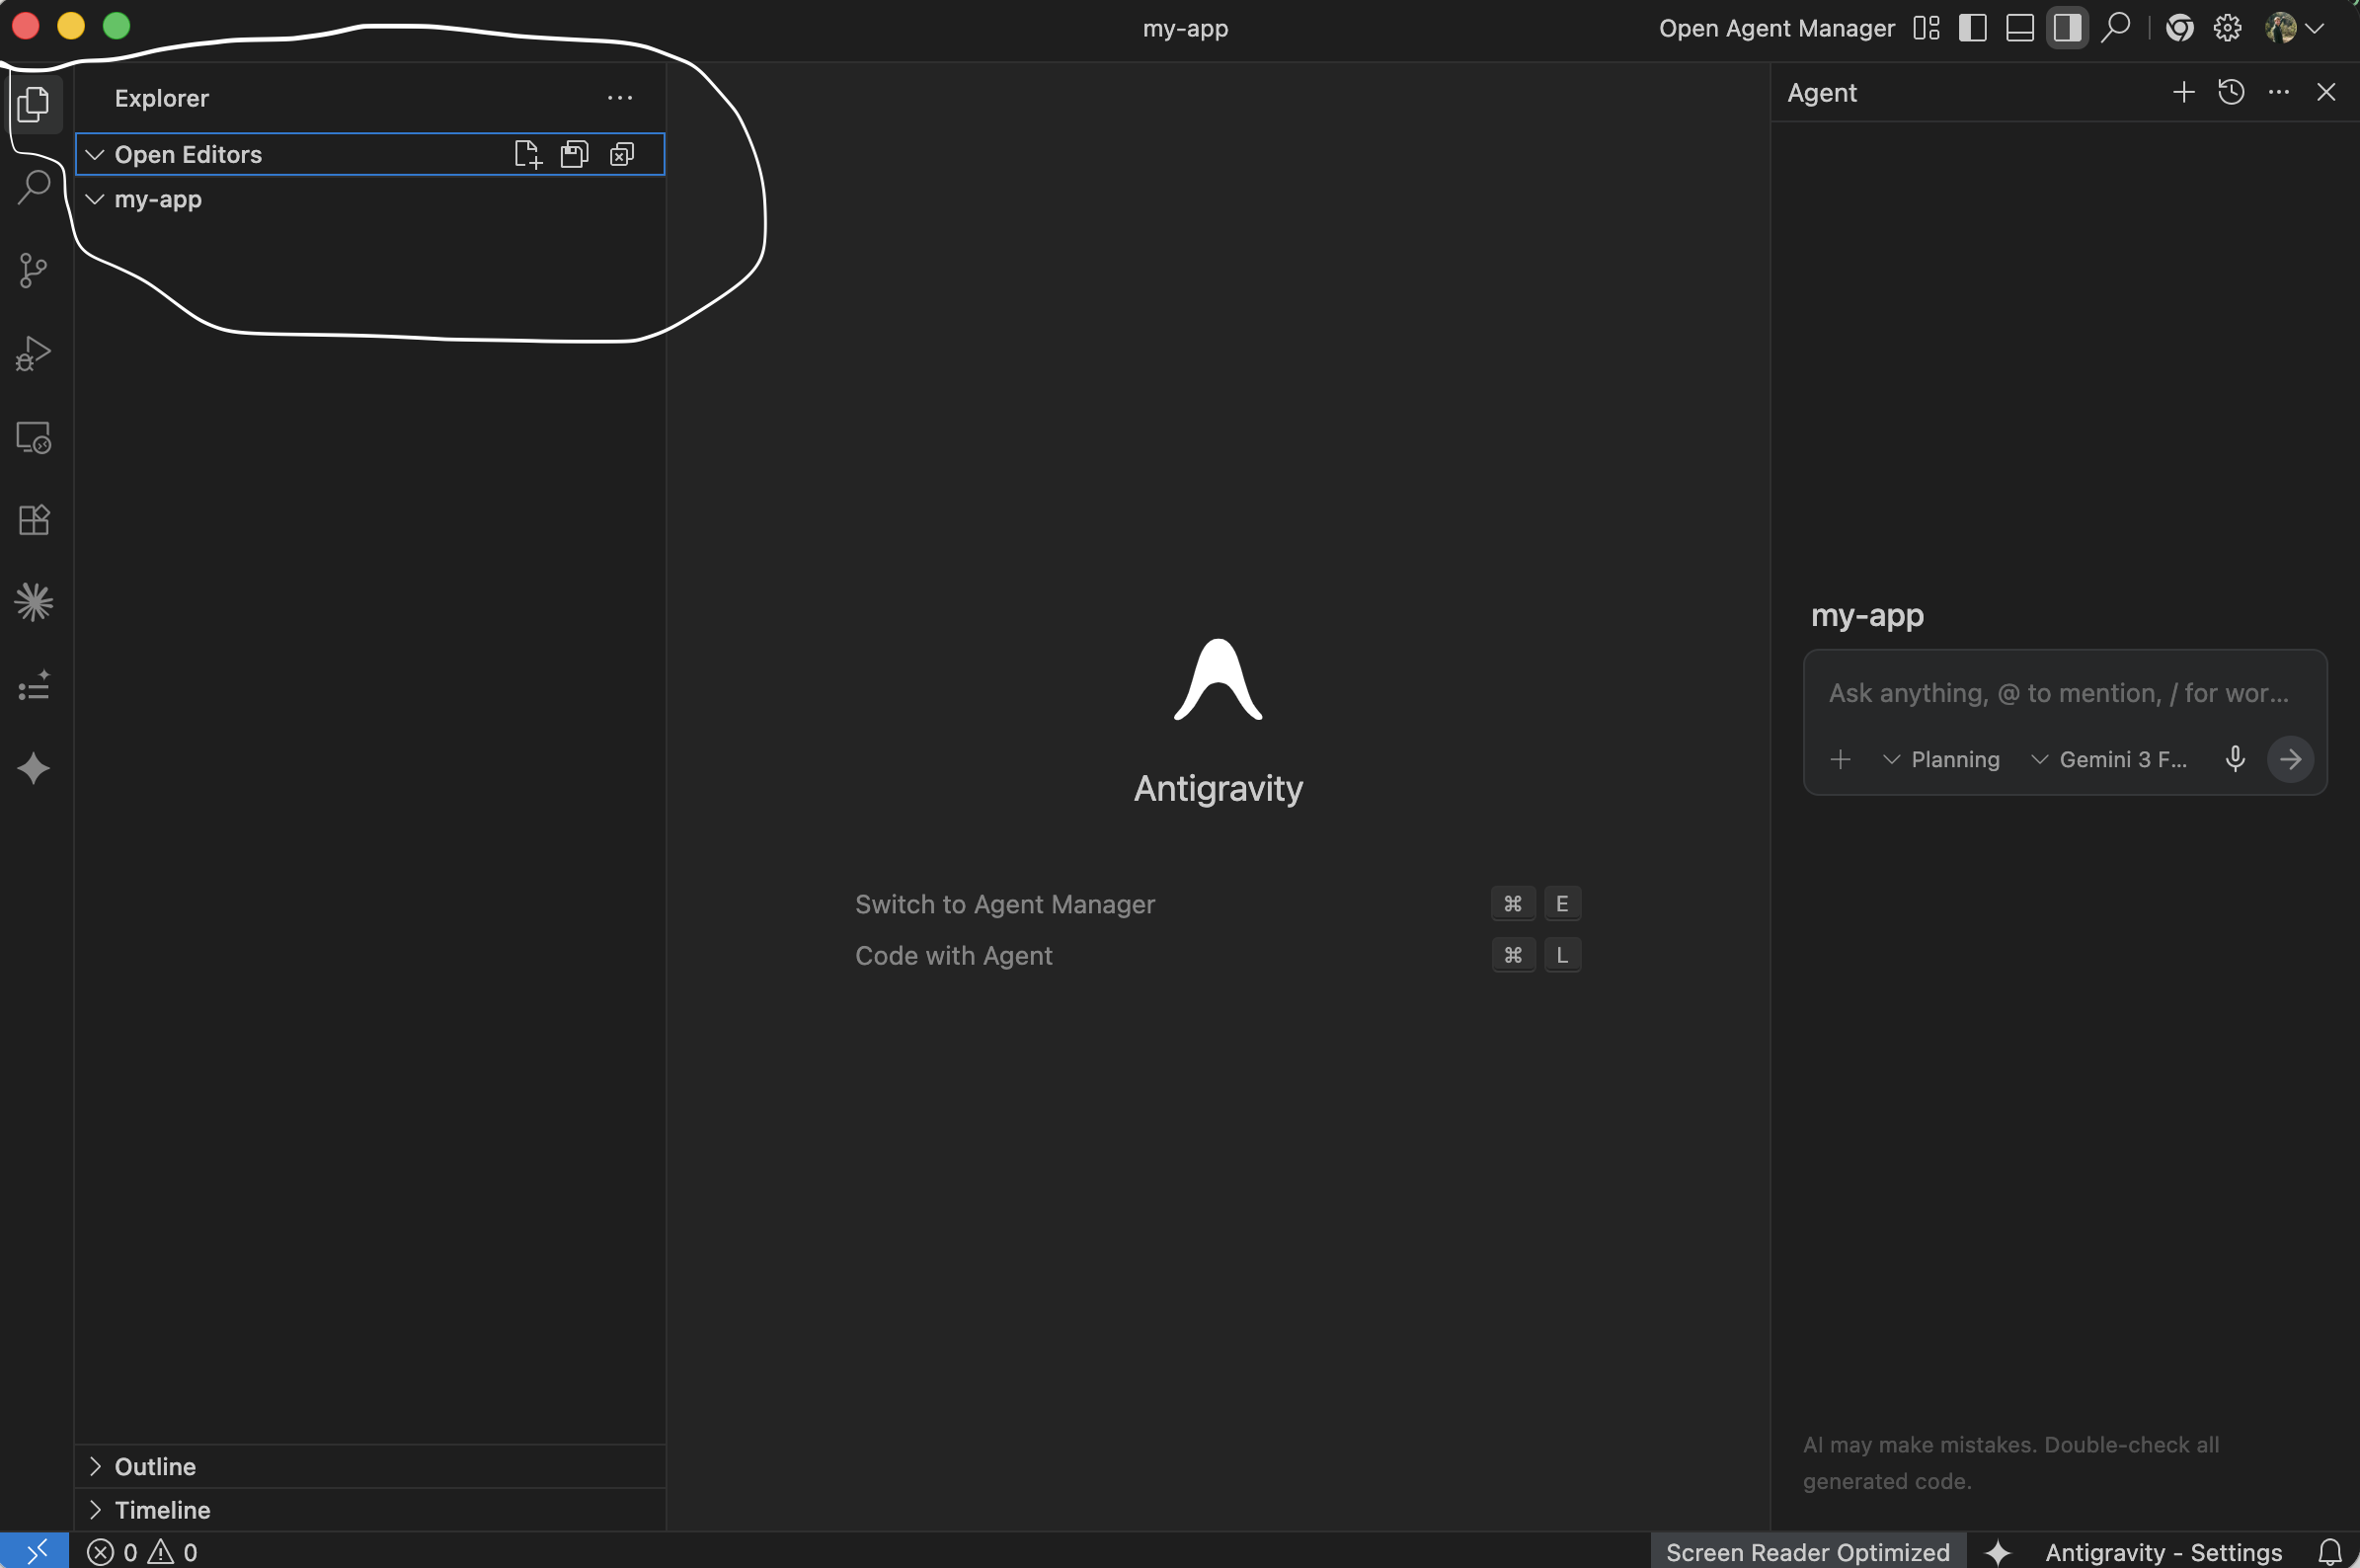
You might have to click the top icon in the left sidebar — it looks like two stacked pages.
Right now it's empty — because we haven't created anything yet.
You can create new folders and files here yourself by clicking the small icons at the top of the Explorer panel. But you won't need to do that — the Agent will create files and
folders for you.

Step 3: The Editor (middle)
When you click on a file in the Explorer, it opens up in the middle of your screen. This is where you can see what's inside a file.
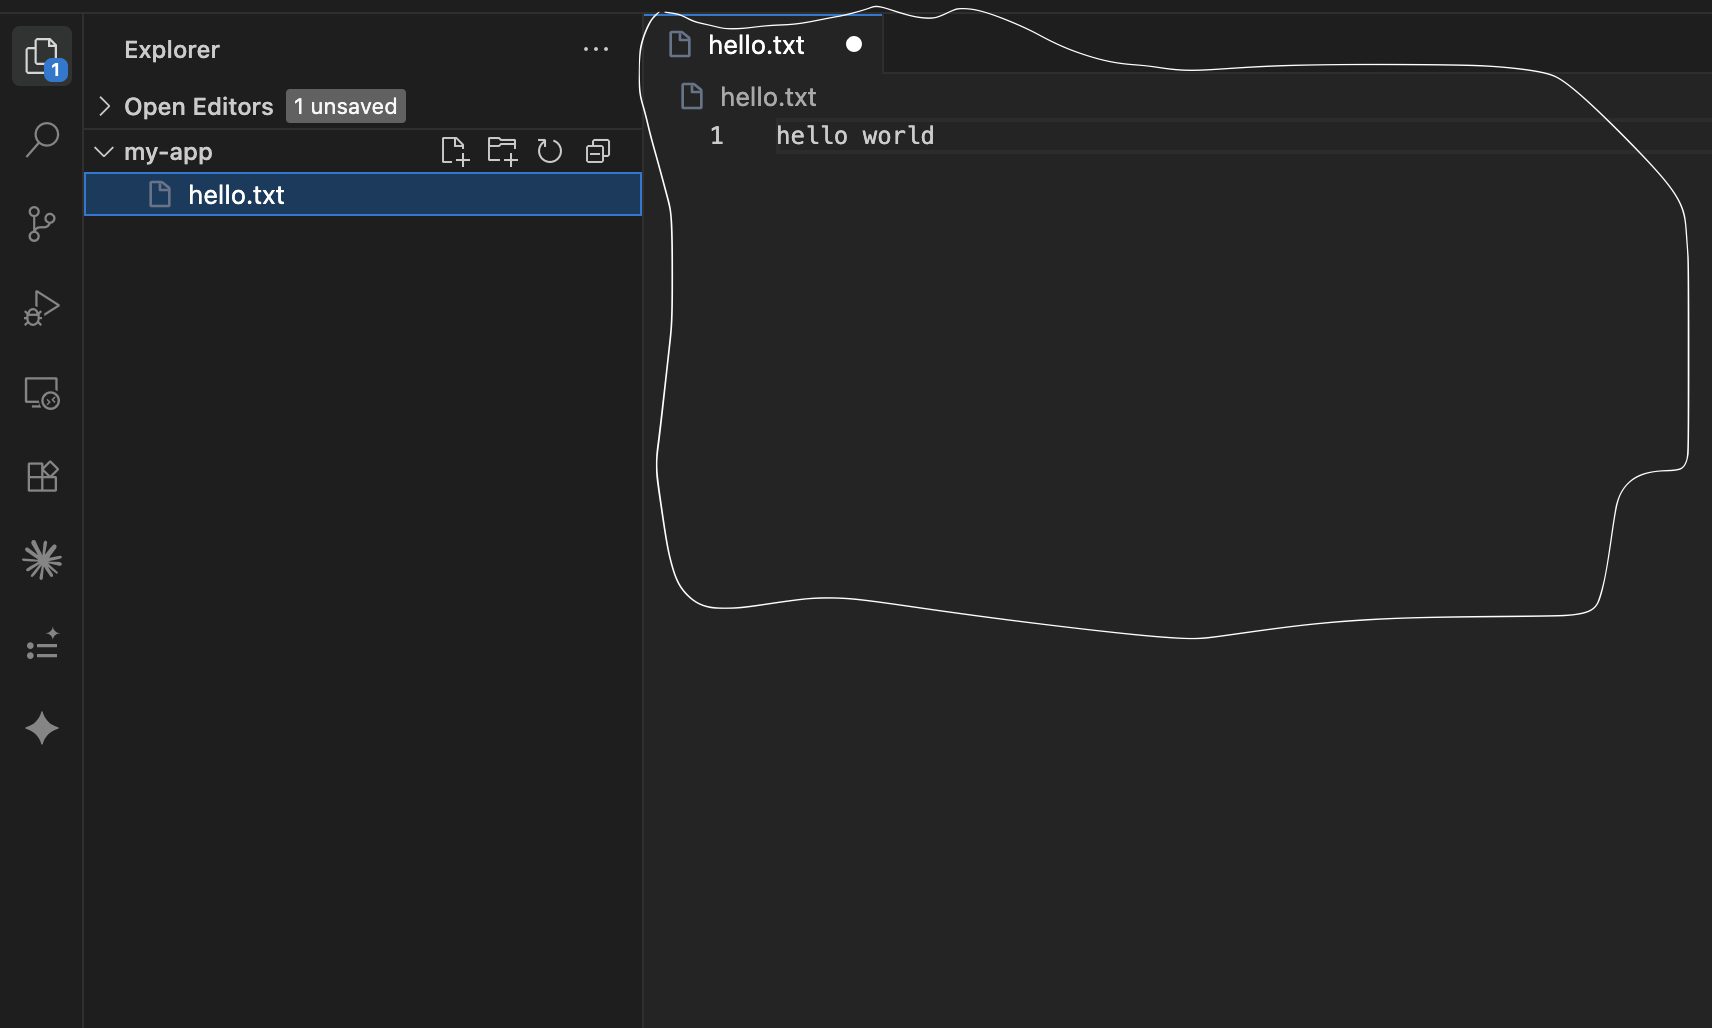
You won't type anything here yourself — the Agent does that. But this is where you can look at your files whenever you want.
Step 4: The Agent Chat (right side)
On the right side of your screen is a chatbox. This is the most important part of the whole IDE. This is where you talk to the Agent.
You type what you want in plain English, and the Agent does it. It can:
- Create new folders and files
- Read all the code in your project
- Write all the code for you
You don't need to do any of that yourself. You just tell the Agent what you want.
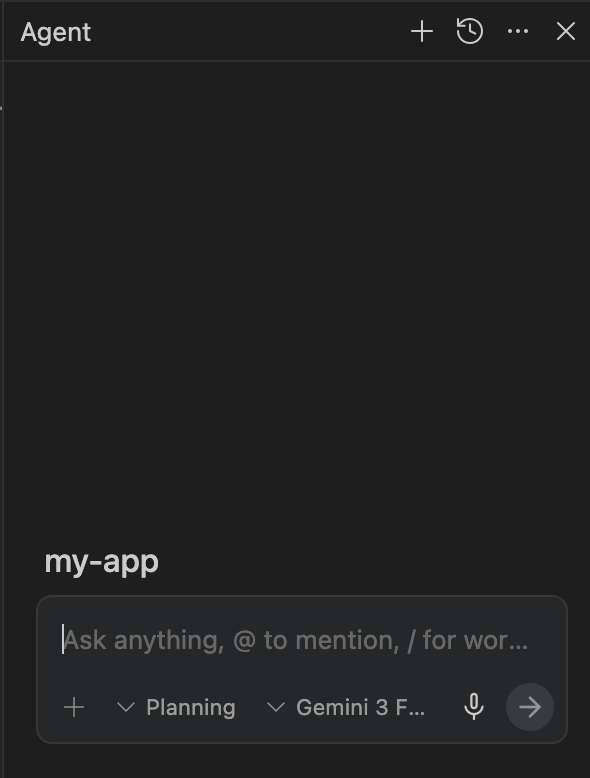
At the bottom of the chatbox you'll see two small settings:
- Planning — switch between Fast and Planning. Use Fast for small tasks. Use Planning for bigger tasks where you want the Agent to think it through first.
- Model — this is which AI brain is being used. The default works great. If you want deeper thinking (for bigger tasks), pick Gemini 3.1 Pro or Claude Opus/Sonnet. For quick easy tasks, Gemini Flash works fine. But don't worry about this — the default is all you need right now. (If you run out of usage for both Gemini Pro and Claude models, just try switching to gemini 3 flash, you usually get an almost unlimited amount of it.)
Interactive Buttons (The "Blue Buttons")
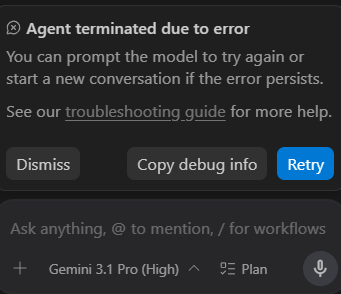
Sometimes, the Agent will ask for your permission before it does something. When this happens, a blue button will appear above the chatbox.
- Run — If the Agent asks to "Run" something, just click this. It's waiting for your "Yes" to keep working.

- Retry — If the Agent gets an error, a blue Retry button will appear. Always click this first to let the Agent try again.
- Accept — When the Agent finishes working, always click this to accept its changes. It might look like an "Accept all" button or a small blue checkmark.


Crucial Rule: If the Agent seems like it has stopped and is waiting for you, it's usually because it needs you to do one of three things:
- Run something
- Retry (if there was an error)
- Accept everything
Look for a blue button above the chat box — the Agent often won't continue until you click it!
Your first prompt
Let's try it. Copy and paste this into the Agent chatbox:
Create a single file called hello-world.txt that says "Hello World!" inside it. Don't create anythin...
After you hit enter, watch what happens:
- The Agent creates a new file
- You should see hello-world.txt appear in the Explorer on the left
- Click on it — it opens in the middle (often happens automatically), and you should see "Hello World!" inside and be able to edit it.
Whenever the Agent makes edits, you'll see an "Accept all changes" button or a blue checkmark. You can always click this to confirm them.
That's it. You just made the Agent create something for you. This is how the entire guide works.
You can see hello-world.txt in the Explorer on the left. When you click on it, it opens in the middle and says "Hello World!" inside. If you see that, everything is working.
Running multiple chats
You're not stuck with a single chat. You can run multiple Agent chats at the same time, each one working on a different part of your app.
- Start a new chat. Click the + icon at the top right of the Agent chat panel. This opens a fresh conversation. It does not kill your current chat — the old one keeps running in the background. You can have several Agents editing/ building your project at once.

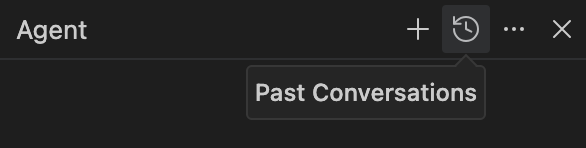
- See past chats. Next to the + icon there's a history icon (it looks a bit like a backwards clock). Click it to see all your past/ other conversations. You can jump back into any of them and keep going.
Later on you'll be building multiple things — for example a landing page and customer login at the same time. You don't want one agent juggling both at once, because it gets confused. Give each task its own chat. One job per chat keeps the Agent focused and the work clean.
What to do when the Agent gets stuck
This applies throughout the entire guide — not just this step. Bookmark this section mentally.
Sometimes the Agent gets confused. It might keep editing the same file in circles, take more than 5–6 minutes on a task, or give you error after error without making progress. Here's what to do:
1. Stop the agent. Click the Stop button (usually a square icon) in the Agent chat panel. This cancels whatever it's doing.
2. Open a new chat window. Don't continue in the same conversation — the Agent may be stuck in a loop. Start fresh.
3. Explain what happened and try again. In the new window, type something like:
"I was trying to [what you were doing]. The Agent got stuck and kept looping/failing. Can you look at my project and figure out what went wrong? Explain it to me in simple, non-technical language and fix it for me. Here's the original prompt I used: [paste the original prompt]."
If it gets stuck again on the same step, try describing in your own words, what keeps going wrong and what the outcome is you want.
Agents aren't perfect. They sometimes go in circles, especially on complex tasks. Starting a fresh chat window is like giving the Agent a clean slate — it often solves the problem immediately. This is normal and happens to everyone, even experienced developers.